

At The Re-Form School, we love crafting with cardboard. But how do you deal with those ugly corrugated edges? It’s actually not that hard.
It’s no secret that you can make nearly anything out of cardboard: it’s strong, versatile, and practically free. It’s a fantastic material for all kinds of crafts. But it always leaves you with the issue of the corrugated edge.
The Problem with Raw Cardboard Edges
For me, the biggest problems with those raw edges are:
- It makes your project look like cardboard, when you may want it to look like something else
- It can’t be painted
- It crushes easily
The last one is the real problem for me – raw cardboard edges are very easy to crush, so they quickly round over and lose their shape. If I want something to look very refined, I want it to keep that distinct edge and not crush.
For some people, this isn’t a problem at all. For example, YouTuber kikomoda sometimes leaves the edges raw, like so:
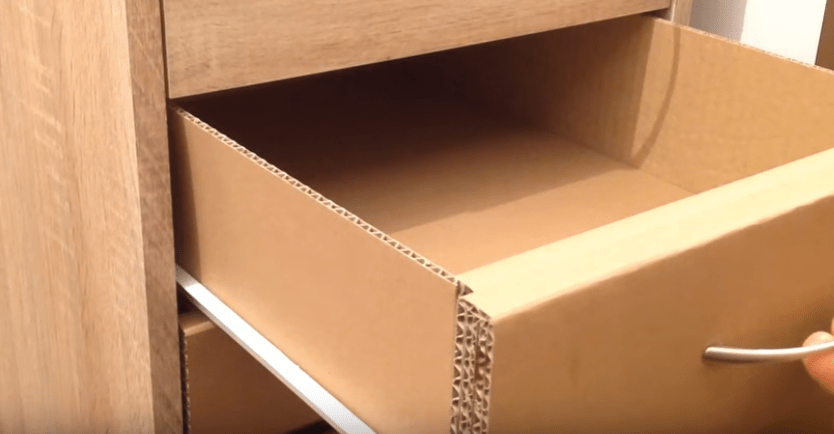
To be honest, that drawer looks pretty flimsy to me, and as though it will lose it’s shape pretty quickly. My cardboard guru Maria Amora always uses craft paper on all her surfaces, to create a consistent finish and to make her attachments much more stable. But she leaves the edges raw under the paper, giving all her edges a rounded, hand-crafted look.

Sometimes I like that softer, more rounded look, but sometimes I want a sharper, more refined edge. To achieve that, you have to cover the raw edge with something else. Here’s a demonstration:
How to Cover a Cardboard Edge
The truth is, nearly anything you cover it with will help, although some materials are better than others. For one or two pieces of cardboard, I often use a length of quilling paper, because it’s already the right thickness and I don’t have to trim paper. For this demonstration, I am showing a raw edge, a piece of copy paper, and (my favorite) a piece of paperboard.

As you can see, I’ve trimmed a piece of paperboard and a piece of copy paper to the width of my cardboard edge, and glued it on.

And the edges are pretty crisp, considering this is just a scrap of cardboard I had laying around. Then I glued paper covering over it, as I would do with a “real” project, to give me a finished edge suitable for papering, painting, or decoupage.

You can already see the difference.


As you can see, this edge has softened: it’s lost it’s sharpness, and it isn’t a nice, crisp angle on the edges any more. The corrugation is also telegraphing through the covering paper.


Copy paper is better: the edges have maintained their crispness, so it still looks like we have a 90-degree angle here. There is some telegraphing of the corrugation, but it’s diminished.


This is the best of all: the corners look very crisp and sharp, and the face looks very smooth with no corrugation showing through.
What is this Paperboard?
I love using this material for this purpose, because you can cut it into long strips, and it’s thin enough to bend or wrap easily over curves, and takes glue well. Of course, what I’m really talking about is food packaging: cereal boxes are perfect. I have some frozen pizza boxes, taco shell boxes… lots of food packaging comes in these paperboard boxes that are perfect for covering cardboard edges.
Just for the sake of it, I gave them a quick coat of paint so you can really see the difference.

Of course, how you finish your cardboard projects is up to you. I’ve seen one YouTuber painstakingly fill the gaps with wood filler, which is another way to do it. But an old cereal box does just as well, and gives your DIY cardboard projects a more finished, refined look.
Featured photo by Tania Melnyczuk on Unsplash


2 thoughts on “The Jagged Edge: How to Finish Cardboard”