

Can you water down your glue? Yes! Should you water down your glue? Yes!
I almost never use glue directly from the container. I almost always pour glue into another container and add water, creating a solution that is 30-50% water, and then applying it with a brush. For small, delicate areas I use a tiny brush; for large surfaces I use a big broad brush. But why?
Why Water Down Glue?
There are a lot of reasons I add water to glue. Basically:
- It stretches the glue. I go through glue like nobody’s business, and watering it down makes it last longer and saves money.
- It makes glue more spreadable. If you pour or dab glue directly from the container to a surface, it tends to stick and absorb right where you put it, right away. If I want a smooth, even layer of glue, water makes it more spreadable.
- It keeps the glue from drying out while I work. If I have a small container of glue sitting off to my elbow as I go back and forth, doing something delicate, the whole time I am not using the glue, it is drying out at my elbow. You know what I mean. It forms a skin over the top. It starts to dry and gum up at the edges. Adding water keeps it fluid and workable for much longer, so I can take my time without dealing with globby glue.
- It penetrates porous surfaces. This is where you want to watch it a bit. Adding water helps glue penetrate the fibers of materials like wood, paper, and cardboard, bonding them more securely.
Too much water can make delicate papers warp and buckle, or get weak and tear while you are working with them. Cardboard will develop a warped, wrinkly surface when you first use watered-down glue on it, but then it will dry smooth and flat again. Adjust the amount of water based on the materials you are working with.
Does Adding Water to Glue Make it Less Effective?
Not a bit. The glue still sticks brilliantly, at least at the approximately 50/50 amounts that I do. I imagine you could take it too far, but I haven’t experienced that myself.
How Much Water to Add?
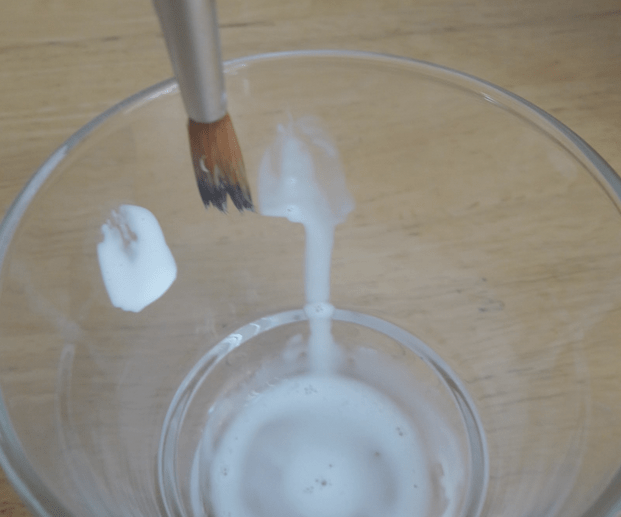
When I mix the two, I typically am looking for a texture like milk. I test it by lightly pressing my brush against the side of the container, and watching if/how the glue runs down the side.
Here’s what that looks like:


Can You Save Watered Down Glue?
Hell yes. I put it in a tightly sealed container, and it lasts in the fridge indefinitely. There’s no risk of it stiffening up and drying out like pure glue. I typically “revive” it with a little more water to get it back to the consistency I want.
So, water down your glue! It spreads more evenly, gives you more working time, and makes a bottle of glue last longer. In some cases, it even makes it more effective.
Photo by Scott Sanker on Unsplash


ive ben doing a variety of surface texture copying using clear school glue. and i found not only does watering it down allow for better flow, but it allows allows bubbles to rise a due to being wetter they don’t skin over and get trapped as much. allowing me to make diffraction grating rainbows, and lenses with the clear glue.